Showing posts with label The Look for Less. Show all posts

Thursday, April 28, 2011

The Project That Never Ends...

Yes, it goes on and on my friends...

Re-upholstering my sofa, that is. I am almost embarrassed to say when I started this insane project. (And did I mention that I have zero re-upholstery experience and knowledge? I thought circular needles were for stitching people up, not sofas.) But yes, the beginning takes us back to the week before Thanksgiving. (Stupid, stupid, timing to rip a sofa apart. Especially if hosting the Thanksgiving meal for your in-laws for the first time). It's been five months. And that's as long as I don't count from the procuring of the sofa, which would be, gulp, a year ago.

This project goes in waves of excitement, determination, and pure DIY-will power. Quickly followed by frustration and repeatedly kicking the darn thing, which settles into a stage of ignoring it's existence. I then take a look at those pretty little white feet on it, and fall in love all over again. And we've got a life cycle.

But as I frequently mutter unconvincingly to myself, it will all be worth it in the end. I hope. At the very least, I will have learned something, surely. Even if it's just along the lines of, never start a major project before the holidays or while 5 months pregnant, or when you don't know what the heck you are doing.

Here is the sofa as it stands today:

 In Progress

 Damon is there for moral support. (And I couldn't move a sleeping newborn just for a crappy photo!)

 DIY Baby

Pure Sweetness

So I'm stapling and sewing away. And maybe in another five months or so, I will have it finished! (Ok, really hoping before then.) 

Have you ever started a project that has taken forever to finish? Or have you been over your head or chosen crazy timing to delve into a massive undertaking?

Thursday, January 20, 2011

With the fur....

Fur has taken over the design world. Be it rugs, pillows, throws, Christmas tree skirts, boots...(ok, hopefully the boots will stay in Hip Hop music), it's everywhere. And I love it. I love the texture, the warmth, the softness.

However, this has created a personal dilemma for me, especially as a vegetarian. Now, I definitely don't claim to be 100% consistent. I do my best, but I'm not perfect. Nonetheless, having animal skins laying around my house would probably be a little blatant, and just weird.


So I have been looking for alternatives that rest well with my conscience, my budget, and look great too. Young House Love posted some DIY versions here and here. But before I got around to trying my hand at making my own, Ikea was one step ahead. They must have realized that their consumers would eventually catch on to the fact that there $25 sheepskin rugs were real, and while most people would be shocked at how inexpensive they are, others would also be a little dismayed. So they created a faux version for half the price.

So this past weekend, we did an Ikea quickie and picked up a few of their faux fur rugs. Side by side, real vs. faux, they won't necessarily fool anyone as for which is which. But I wasn't going to buy a real one to lay right beside it, anyways. Here it is in our Master Bedroom...


Not bad for $12.99, right? At that price I couldn't buy just one...so be on the look out for them popping up all over my house.

Wednesday, January 5, 2011

The Master Bed

Our Master Bed has been completed, and I have been counting the hours until the sun comes up to show you. We could not be more ecstatic about no longer sleeping on the floor after a year of doing so. And at 29+ weeks pregnant,  those frequent nighttime bathroom trips were daunting. Let's just say there was a lot of awkward rolling, tripping, falling, and waddling involved...

It all started when I fell in love with this bed:

Gustavian Bed from Viva Terra

At $2,095 plus tax and shipping, it was obviously not an option. Even Ikea prices were questionable for our college-student-budget. But, Ana White at Knock-Off Wood (who might as well be called Wonder woman) was to the rescue, once more. She worked up some plans. Which I modified from a queen to a king and made a few small preferential changes (don't worry, I will tell you exactly what we did.) And then David bought some wood, which happened to be pretreated. So he returned it, and bought the correct wood:

This is supposed to be a bed? Really?

And he went to work:

Dmitri helped. Especially with the power tools.

Six days, five trips to Lowes, a gazillion screws, countless measuring, over one hundred cuts of wood, free-styling with a jig saw, three applications of stain, two applications of polycrylic, and a lot of impatient waiting during dry time...

And here is our bed:
I am in love.


 It's so huge.

Look at those legs.

I'm calling him Gustav, and he's pretty much swept me off my feet (and off of the floor- thank God!). Enjoy the photos for now, and I will be posting every building detail tomorrow. Might I add, I had our Anthropologie bedding set up on the bed for not even thirty minutes. And Dmitri managed to leak his poopy diaper all over my new sham. Ooh, shit. Got to love life with babies. So a bedding post will be coming at a later date, after a visit to the cleaners.

These photos were taken in the middle of our massive master bedroom redo, hence the blue tape and other random stuff lying about. So forgive the weirdness. I look forward to sharing more Master Bedroom updates in the next few days.

Total cost: < $200, including the purchase of a jig saw
If we had bought it: $2,095 + tax & shipping

For details on how we built it, including measurements, click here!
For FAQ's, click here!

I linked up at The Weekend Wrap-Up & Make it 4 Monday.  

Monday, December 6, 2010

Pottery Barn Inspired: Advent Calender

I love the Christmas season, and I want to create a fun, loving, and giving season for my children. One of my favorite memories as a child was our advent calender. I loved waking up each December morning, running into the kitchen and putting that day's marker on the calender. Since David's & my first Christmas married (and Dmitri on the way), I have been looking for the perfect advent calender for my own family. But each year, none have been perfect.
Until this year, when I fell in love with this advent calender from Pottery Barn:


But the $299 price tag? Outrageous!!! So, I decided to make my own. And for less than $20 I have my own bucket and branch advent calender...


I'm in love. And Dmitri thinks it's fun too. 
Here is a short tutorial:

Supplies

-25 buckets (mine are from Dollar Tree in the wedding section. I got 27 for $9)
-Natural jute (or other string to tie it all together)
-5 sticks, branches, or dowels (I just painted wooden dowels white that I already had).
-Oil rubbed bronze spray paint
-Number stickers
-Little trinkets to fill the buckets (a lot of mine are cut up Christmas tree picks or mini ornaments)
-Floral foam or something else to fill buckets


1. I started with these little white buckets. I removed the handles from them. 


2. I put sticker numbers on them from a scrapbook pack. I re-used a few, but it works best when you only use the sticker once. Make sure they are on very securely.

3. These got a good spray from some oil rubbed bronze spray paint. (I flipped them upside down and sprayed too!)


 4. Peel the numbers away...A few of mine had a little residue. I used a little scraper tool to clean off some of the paint that seeped in. Also, you can use a Mr. Clean magic eraser very carefully (it will remove all of the paint if not careful!)

Here are my supplies pre-assembly.


5. Tie it all together. Measure out the jute pieces for the buckets so that they are all the same length. I put the buckets on the "branch" by putting it through a loop around the branch, if that makes sense.

6. It took a little bit of time to put all of the buckets on the sticks. And then to tie all of the sticks together. It's nice if you have a helper. Some of it takes a little trial and error...


7. Fill with goodies!
Happy Adventing!
Let me know if you have any questions! This was an easy project, but a little time consuming! 

I linked up @ Thrifty Decor Chick, The Holiday Home Linky Party, & Get Your Craft On! 

Sunday, June 27, 2010

The Look for Less: Anthropologie Starfish Bottle


I love Anthropologie. I worked there for several months, and let me say, very little of my paycheck came home with me. Especially with the employee discount, I could hardly resist. Now my Anthropologie shopping visits are much less frequent. But when I saw these bottles there...I loved them!


However, the $88-$598 price tags? Yeah, right.


This one was my favorite. So I decided to make it...


I started with a bottle from Homegoods ($2.99) and a starfish from Michaels ($4.99). This project could be even less expensive if you use a 40% coupon at Michaels! (I needed mine for a more expensive item).

I took the top off of the bottle. Hot-glued the starfish into the mouth of the bottle (with several layers of hot glue). I propped the bottle against the wall while it dried. I wrapped natural jute around the bottle neck (with a little hot glue, of course). 

Voila...My $8 Look for Less!


Linking up:

Tuesday, June 8, 2010

The Feminist's Housewife's Guide to Free Furniture

Furnishing a home practically and beautifully does not have cost thousands.

This chest cost us a total of $20 (for new hardware). (friend)


This desk: completely free! (Though it will probably be getting a new coat of paint soon). (friend)


Our incredibly well-made kitchen table: free + $10 in supplies to refinish. (family)


We splurged on our 1930's antique sideboard at $55 (Craig's List)


Our Garden Center: free! Plus $20 in new hardware. (friend)


Our two sofas - one was free and one was $65. (Goodwill & a friend)

So how do you spend very little, feel good about re-using, and have a beautiful home? It takes a little bit of time; you can't usually find the perfect piece immediately, but with a little patience, you can build a home. And just remember all of the money you are saving!

Where to Look:

Craig's List : Check your local Craig's List often. Check the "free" section too! Don't be afraid to make an offer if the price isn't right. You should rarely pay full price - unless it's already an unbelievable deal. Checking often will give you a "feel" for what is reasonable, and what is some pompous overpaid jerk who couldn't sell his sofa for $700 at the country club yard sale. Blogs like Nuestra Vida Dulce help you find cool items too!

Really really Free Markets: Look for local free markets. There is one in my town, and people bring what they don't need, and take what they do. It's a beautiful thing. Most big cities have them - and some small ones too! Google your city and "really really free market" and you never know what you'll find. If you'd like me to help you look, just send me an email. And if you don't have one, consider starting one! They often meet at local parks.

Aunt Nora/Lena/Betty's Secret Stash: Ask your family! Every family has secrets, and most have extra furniture in their garage/basement/attic too. This goes for friends as well. Think of it as a symbiotic trade - they will feel just as good about it as you will when they have extra room, and aren't reminded of that time they were drunk and ran into the dresser and woke up with seven cats and a possum on top of them two days later. So don't be shy.

Yard Sales: Check the papers. Plan a route, or free-style it with some bagels and coffee at 6 AM on Saturday morning. Sounds like some good, clean, family fun. Until you brawl with a 75 year old lady over a crystal vase. You might want to tell the kids to stay in the car for that one.

Dumpster Diving (Neighborhoods & Apartment Complexes): Drive through neighborhoods the night before trash day. It's pretty easy to do a drive-by, and if you find anything that would otherwise party in a landfill for a couple hundred years, you can clandestinely throw it in the back of the car. Also, apartment complexes are a great place to check for furniture lurking outside the dumpster. We got our bedroom nightstand this way!

Thrift Stores: Goodwill, Salvation Army, & independent thrift stores are great places to check for cheap furniture. And you can always ask them to lower the price if you think it's too much!

Overstock.com: Definitely not free, but sometimes they have really good deals - and their shipping is only $2 even for furniture! Can't beat that. We got our Serta King Size Memory Foam Mattress on there for quite a bargain.

Tips:

Set a budget: And stick to it. Decide what you have-to-have new, and what you can shop around for a used piece. We are in the middle of our living room remodel. We know that we want new white sofas, but a desk, coffee table, end table, and accessories we will look for used.

Make a List: If you are looking for several pieces for different rooms, make a list of what you need/what space you need it for...that way you only get pieces you really need, and you don't forget a space when you are groggily yard sale-ing at 6 AM after a crazy night of dumpster diving.

Haggle: Sike yourself up, and don't be afraid to negotiate!! Simply say, I'm on a strict budget and I can't pay more than "X amount", can you do that? Don't pay more than your budget.

Be Patient. If it's not what you want, don't buy it just because it's a good deal. Wait for the right piece.

Don't underestimate the power of paint. New paint or stain can completely change a piece. Don't let the really ugly and outdated wood or paint job deter you from a piece with great character. The same goes for new hardware!


Thursday, June 3, 2010

Doorhandles: Fast & Cheap Solutions


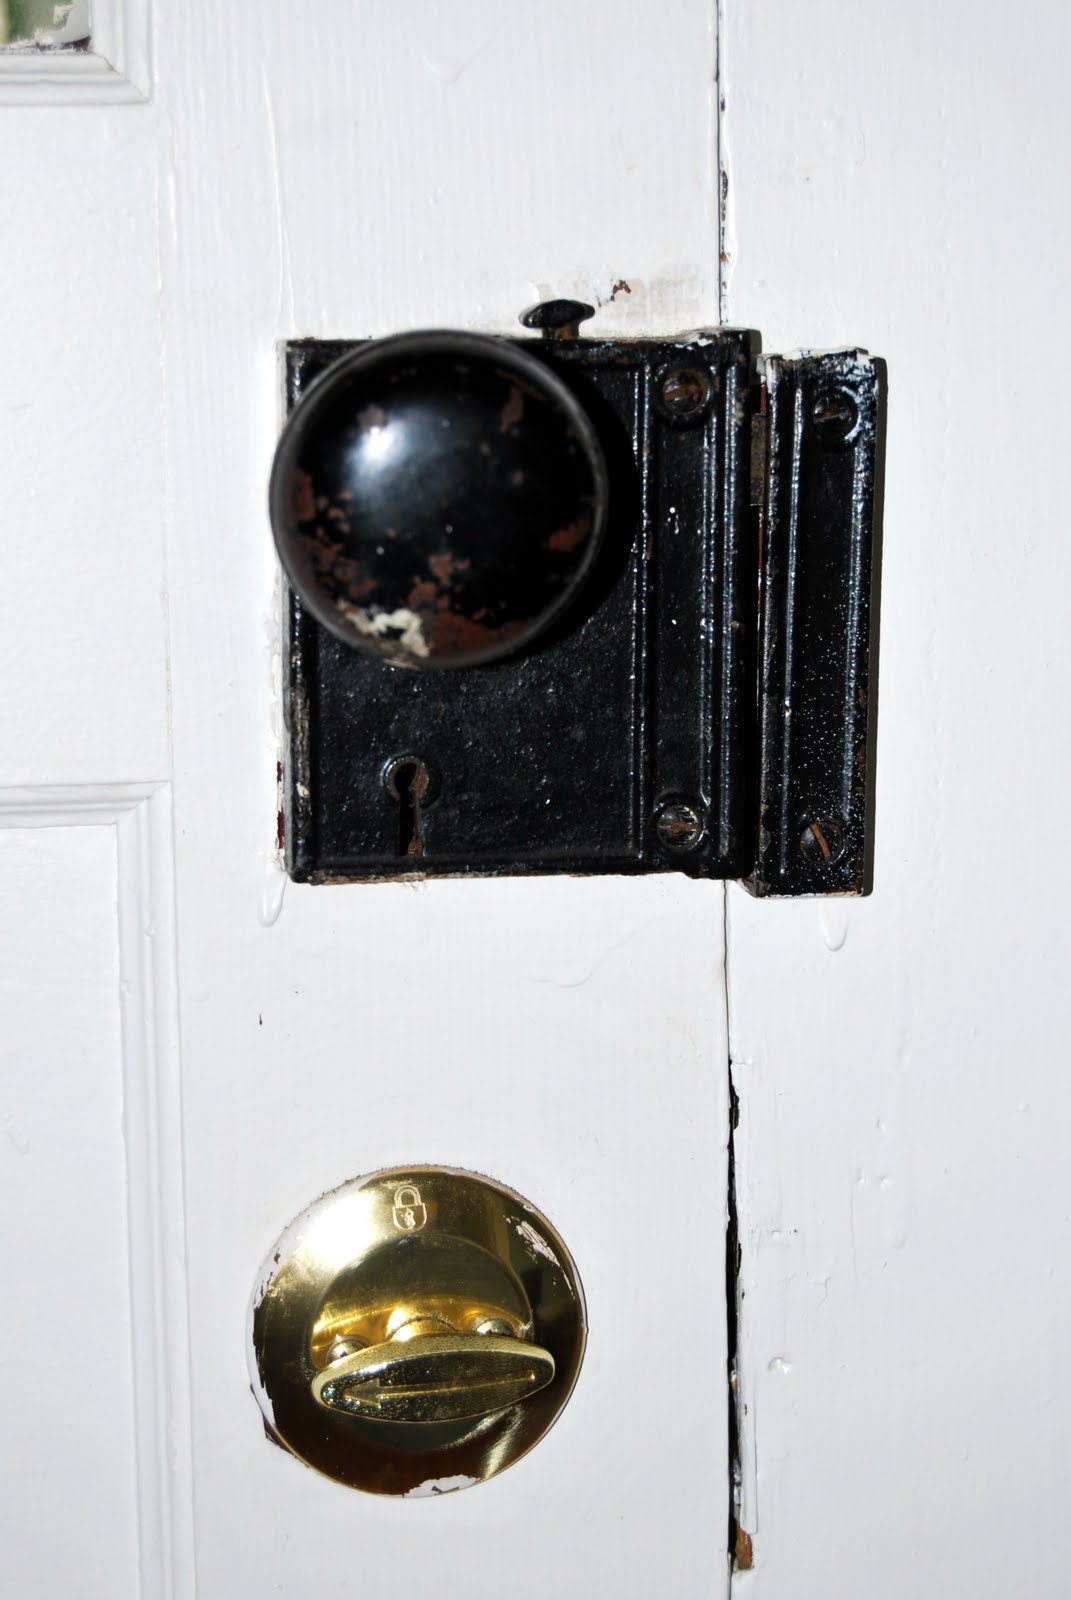
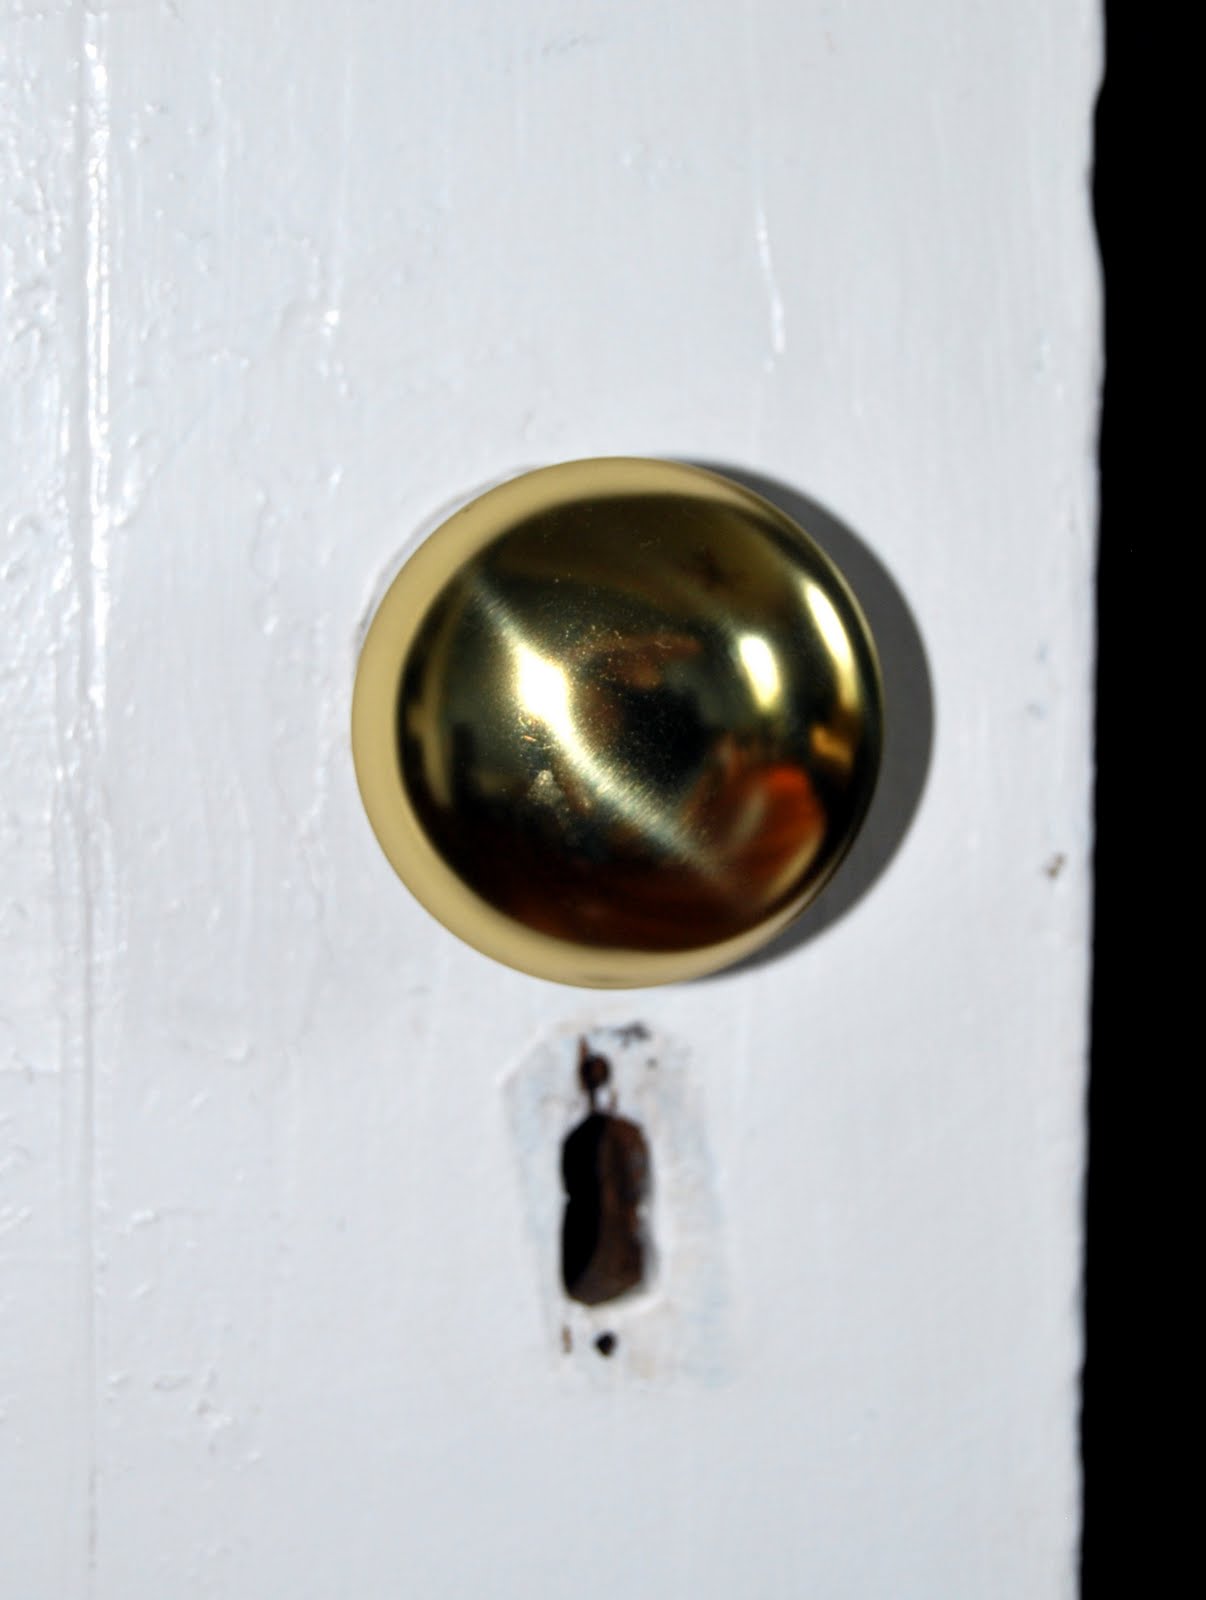
The small details make a big difference when it comes to making a house feel pulled together. Door handles are the perfect example of something small that can make a place look nice or trashy. Our door handles are every different size and shape imaginable. To replace them all would have been pretty expensive. And why replace anything if you can just give them a facelift!


  c


After a quick spray from this paint in oil rubbed bronze ($5 or $6 at Lowe's)...


I am so glad that they are all the same color now! I don't think the pictures even give them justice. It's really amazing the difference that they make in each room. So if you have any ulgy, tacky brass hardware in your home, don't feel like you have to drop hundreds to get an updated look!


Saturday, April 24, 2010

Guru Paisley: How I paid $70 for a $350 duvet

Guru Paisley

I have been coveting the Guru Paisley Duvet designed by Vera for Anthropologie for months and months. There is no way I could shell out $350 for the duvet (not to mention the bedskirt & shams on top of that...adding up to over $500). So, I have resorted to stalking eBay for months now. Waiting, and waiting.

It's been listed for $174.99 for a while. Still way out of my price range.

I was at Anthropologie a couple months ago, browsing their SALE section and I saw the Featherfew duvet for $69.99. Now that was a price that I could afford. I bought it, even though it really wasn't my style. I figured it's from Anthropologie, I have to like it. I kept it in my closet for a while, and stared at it often, wishfully imagining that it were the Guru Paisley. I decided that settling just wasn't going to work. I would be too unhappy with it, and I wouldn't enjoy it.

Featherfew

So I listed it on eBay. It sold for $140. I kept this in my Paypal account, and caroused eBay, for several more months. Until two days ago, when I offered $140 for a Guru Paisley Duvet. She accepted.

A recap.

- 69.99 - Featherfew Duvet
+ 140.00 Sold Duvet
-140.00 Guru Paisley Duvet
______________________
Total = $69.99 out of pocket

That is the story of how I got the duvet that I wanted, at the price that I wanted. It took time (about 6+ months). But it was worth it! I can't wait for it to get here, and to be able to put it in our new home!

Caroline